Design your first photomask in the browser
You can go from a blank canvas to a real .gds file in about ten minutes: draw a shape, put it on a numbered layer, turn a repeated feature into an instance, and export. This guide walks that loop once, end to end, in Glyph — no install, nothing uploaded.
- Time: ~10 min
- You'll need: a modern desktop browser (Chrome or Edge for the smoothest save experience) and nothing else — Glyph is free and runs entirely client-side.
 View full image
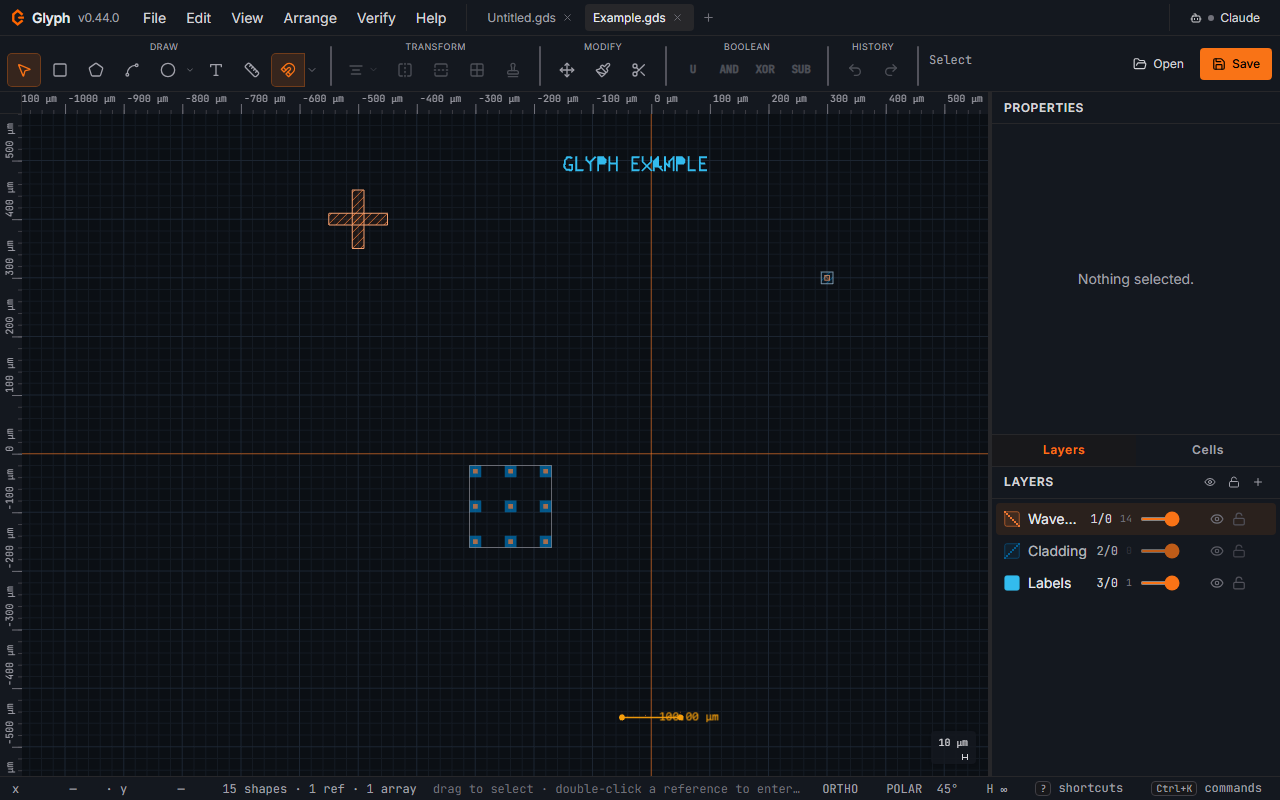
- Open the editor. Go to Glyph. It loads a blank document with one default layer already selected in the Layers panel.
- Draw a box. Press
Bfor the Box tool, then click and drag on the canvas. This gives you a filled rectangle on whichever layer row is highlighted (active) in the Layers panel. - Size it precisely. With the box selected, type an exact width and height into the W / H fields of the Properties panel and press
Enter. A typed value always wins over a dragged one — this is the panel you'll reach for most in Glyph. - Add a layer. Click the + at the top of the Layers panel, then click its colour chip to pick a colour and fill pattern. The new layer becomes the active one (its row is highlighted); click any other row to switch. A layer here is just a numbered GDS layer with a colour you choose for your own sanity — the number is what a mask shop actually reads.
- Draw a second feature on the new layer the same way (
B, drag, then type exact numbers if you need them). - Turn a repeated feature into an instance. If you want the same shape placed more than once, select it, group it into a cell (
Arrangemenu or the Cells panel), then place additional copies as SREF instances. Editing the original cell later updates every placement at once — that's the core idea behind GDS hierarchy. - Export the mask. Press
Ctrl+S. The first save opens a native file picker; pick a filename ending in.gds. After that,Ctrl+Swrites straight back to the same file.
What you built
A real, standards-compliant GDSII file: at least two shapes on two numbered layers, saved with nanometre-precise integer coordinates that any GDSII-reading tool — Glyph itself, KLayout, or a mask shop's front end — can reopen. You've used the four moves (draw, size, layer, save) that every larger Glyph layout is built from.
For the deeper version of this walkthrough, including arraying an instance and pinning a measurement, see the Quickstart in the docs. To understand how layers, colour, and fill pattern relate to the physical mask, read Layers. For every save/export format Glyph supports, see Open and save GDS files.
Next steps
A GDSII file only describes geometry — turning it into a physical device still needs a process. Next: choose a resist for your process, then use it to expose the mask you just drew. Start with the photoresist glossary if any of those terms are new, or go straight to maskless lithography to see how a design like this one gets exposed without a physical photomask.